The first snowboarding day goes wrong in small, predictable ways. Boots that felt fine in the rental shop turn into foot clamps by ten o'clock. A phone battery dies because it spent the morning in an outside pocket. Someone in the group is hauling a backpack full of things nobody touches all day. None of that is bad luck — it is packing. The list below is what to work through the night before you go, so the morning is spent riding rather than rummaging through the car.
Wear Layers You Can Actually Adjust
Snowboarding is a stop-start sport. You work hard for two minutes, then stand still on a lift for eight. That means your body swings between sweating and cooling down, and clothing that cannot adapt will leave you damp and cold by early afternoon.
Start with a fitted base layer in synthetic fabric or merino wool. Add one mid layer — a fleece or a thin synthetic puffy — and finish with a waterproof shell jacket and trousers. Look for the word "waterproof" rather than "water-resistant" on the label; wet trousers end the day faster than tired legs do.
The cotton rule
Leave cotton out of the equation, at least next to your skin. A cotton T-shirt absorbs sweat and holds it there, which is exactly what you do not want while sitting on a chairlift in the wind. The same applies to cotton socks and hoodies.
Details that matter more than they sound
- Socks: one thin pair, synthetic or merino, pulled up smooth. Two pairs cause rubbing, not warmth.
- Gloves: waterproof insulated gloves or mittens. Knitted gloves are for the walk to the car, not the slope. A spare pair in the bag is a small luxury on a wet day.
- Trousers: long enough to cover the boot tops, or worn with gaiters. Snow down your boot at 9 a.m. is a miserable way to start.
- Neck: a neck warmer or buff instead of a long scarf, which can dangle and catch.
Boots Decide Your Day
Rent on the first day. Buying boots before you know how you ride is a common and expensive mistake. Arrive early, because the rental queue grows quickly once lessons start, and ask the staff to help you get the fit right rather than grabbing your shoe size off the shelf.
A snowboard boot should feel snug, with your toes just brushing the front when you stand and your heel held down when you flex forward. Buckle from the bottom up, then tighten again after your first run — liners compress as they warm up. If a boot pinches in the shop, it will be unbearable by two in the afternoon. Ask for another pair. Rental staff swap boots all day long and would far rather do it at nine than at noon.
Protection Worth Renting or Buying
You do not need a full race kit. You do need a few pieces that make the learning days less punishing.
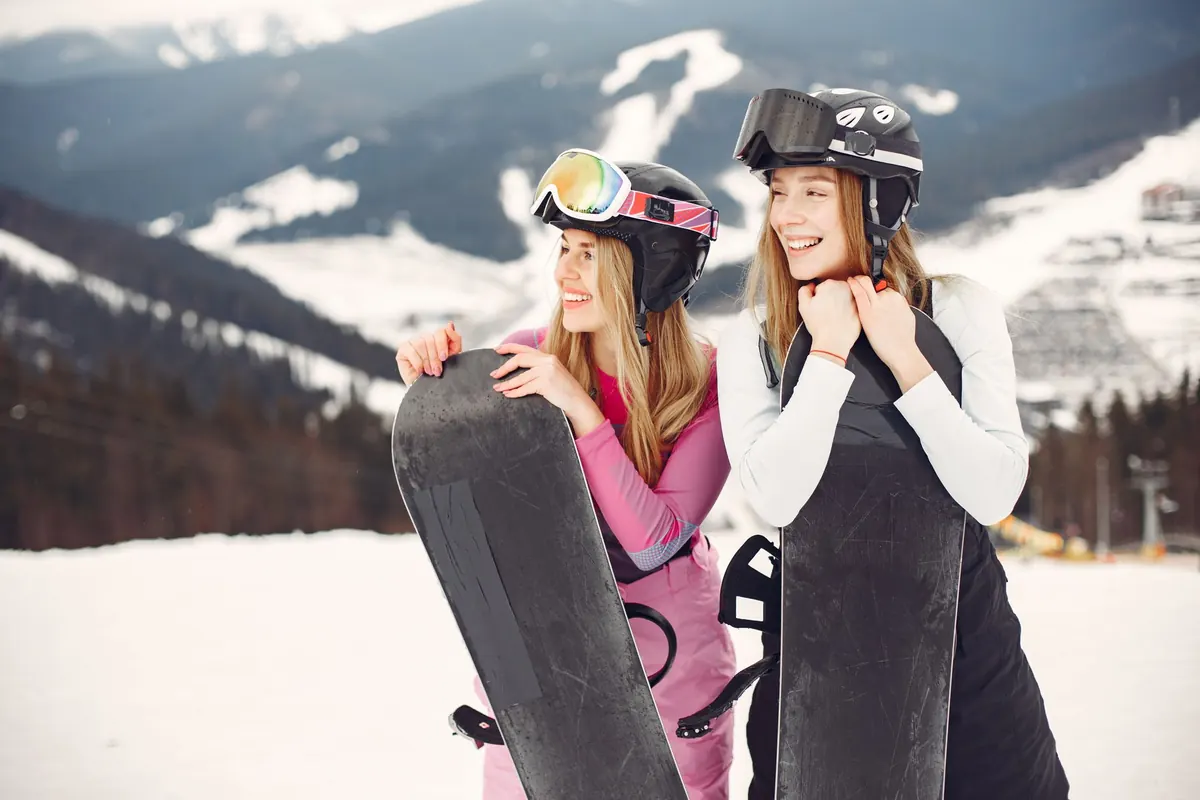
- Helmet: rent one from the resort. Fit it so it sits level and does not tip back.
- Goggles: proper snow goggles, not sunglasses alone, especially if it snows. Make sure they fit around your helmet without leaving a gap of bare forehead.
- Wrist guards: inexpensive, easy to rent or borrow, and a sensible addition for a beginner who will spend a lot of time putting a hand down.
- Impact shorts: padded shorts that protect hips and tailbone. Many first-day falls land exactly there.
- Knee pads: optional, but useful if you are learning to knee-slide or spending time on the beginner slope.
If you are returning from an injury, or you have an existing wrist, knee or back problem, get advice from a doctor or physiotherapist before you strap in. Protective gear reduces risk; it does not replace a sensible assessment of your own body.
Pockets, Pass and Phone
Keep what you carry small and zipped. A lift pass belongs in a chest or sleeve pocket where a scanner can read it without you undoing three layers, or on a lanyard inside your jacket. Your phone should live in an inside pocket close to your body, where the battery stays warmer and survives longer.
- A small snack bar and a water bottle, or a locker key if you leave the bottle at the lodge
- Lip balm with sun protection and a small sunscreen stick — snow reflects sunlight
- A goggle cloth or microfibre wipe
- A payment card and a little cash, since some smaller huts and food trucks still prefer it
- Your lesson booking confirmation, if you have one
Leave the bulky wallet, the house keys and anything you would hate to lose in a locker or back at your accommodation.
Snacks, Water and the Energy Dip
Beginners burn more energy than they expect, mostly through the effort of getting up and the tension of getting down. Eat a proper breakfast, carry something salty or nutty in a pocket, and drink water before you feel thirsty. Dehydration on the hill often shows up as a headache and a sudden loss of patience.
Have lunch before you are completely drained, and keep it lighter than you might at home. A heavy meal followed by a beer is a reliable way to end the day at two o'clock. Save the long lunch for the day you can link turns without thinking about it.
What to Leave at Home
The most useful packing skill is subtraction. Every item you carry is something to manage on a lift, in a lift line, or in a lodge doorway.
- Jeans and cotton trousers. They soak through and stay wet.
- A large backpack. A small one is fine if you really need it; a heavy pack changes your balance and gets in the way on the lift.
- Long scarves and dangling jewellery. Loose ends catch on lifts and edges.
- Ski poles. Obvious, but they turn up in beginner bags every season.
- Alcohol. Save it for après. Drinking and riding do not mix, and resort rules are not sympathetic.
- A Bluetooth speaker. Nobody on the chairlift wants your playlist.
- Expensive watches, loose cash and irreplaceable kit. Pockets open, things fall out.
- Three spare layers. One spare mid layer in the car or locker is enough.
Rule of thumb: if you cannot fit it in your jacket pockets or a small locker, you probably will not use it between first lift and last run.
The Night Before and the First Hour
Lay out your base layer, socks, gloves and goggles the evening before, charge your phone, and check the lift opening time and where lessons meet. Eat breakfast. Arrive with enough margin to collect rentals without rushing, because a calm first hour sets the tone for the whole day.
Once you are on snow, spend fifteen minutes on the beginner slope doing nothing but getting used to being strapped in: skate, glide, fall, get up. Then take a lesson if you can. A good instructor will save you weeks of guessing and will also tell you when to stop. Fatigue is the point where technique falls apart and small mistakes turn into sore wrists, so end the day while you are still enjoying it. Pack the wet gloves out of the bag, hang everything to dry, and write down the one thing you would change next time.
Photo: Pexels / Pixabay