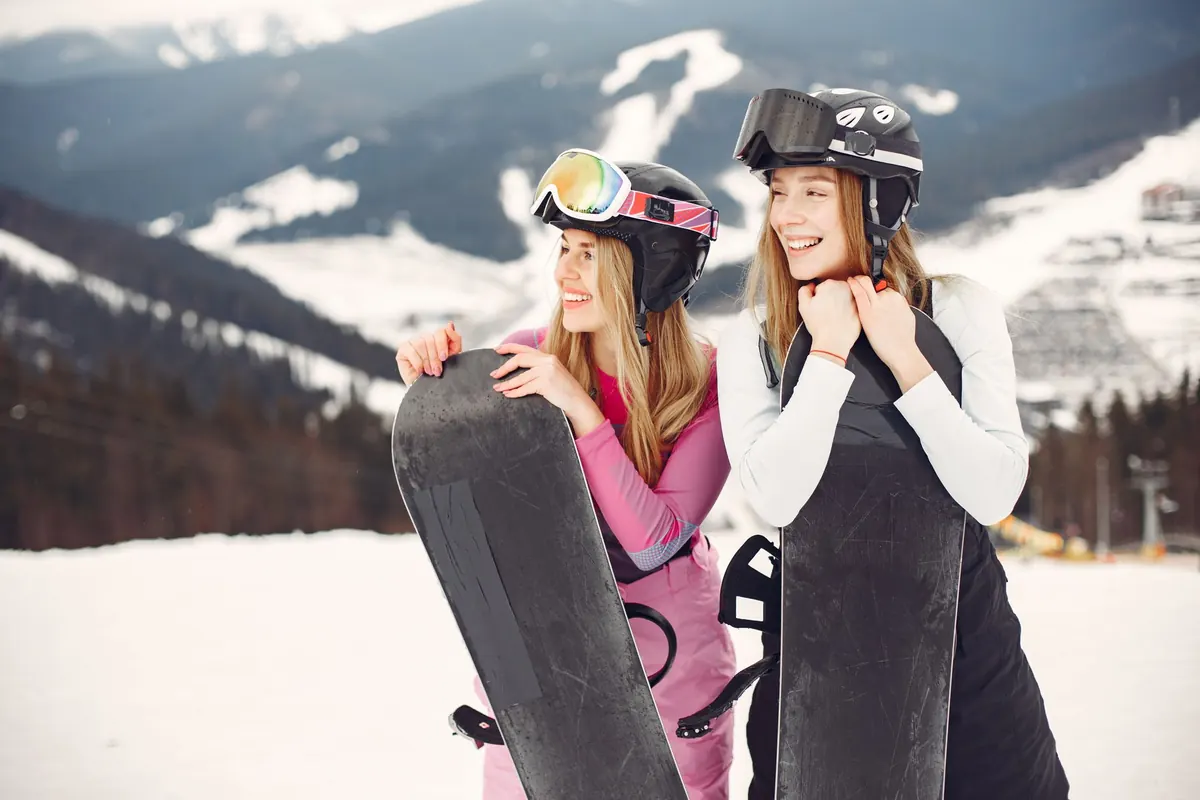
The lift ride up is bright enough that you are squinting behind your helmet. Twenty minutes later the cloud arrives, the slope turns into a white sheet, and you cannot tell a mogul from a shadow. Same day, same mountain, two completely different problems. That is the thing about goggle lenses: no single tint is best at everything, and the lens that came in the box is usually a compromise somebody else chose for you. The good news is that picking a tint is not complicated once you understand two ideas — how much light a lens lets through, and which colours help your eyes separate snow from sky. Get those straight and the rest is just matching the lens to the day in front of you.
The Number That Matters Most: VLT
Every lens has a visible light transmission figure, usually printed somewhere on the frame, the lens edge or the packaging. VLT is simply the percentage of visible light that passes through to your eye. A lens at 12 percent lets in very little; a lens at 60 percent lets in a lot. Snow-sports lenses are grouped into categories based on that figure, and the categories are the quickest way to compare two lenses from different brands.
- Category 0 (roughly 80–100 percent VLT): almost clear. For night skiing, deep fog or heavy snowfall, not for sunshine.
- Category 1 (roughly 43–80 percent): light tints, typically yellow or pale rose. Built for overcast days and storm light.
- Category 2 (roughly 18–43 percent): the all-rounder zone. Works in mixed cloud, light snow and thin sun.
- Category 3 (roughly 8–18 percent): the classic bright-day lens. Bluebird mornings, high altitude, spring snow.
- Category 4 (roughly 3–8 percent): very dark, meant for glacier and high-altitude sun. Too dark for driving and too dark for most resort skiing.
If you own exactly one lens and ski wherever the coach or the calendar sends you, a category 2 or a light category 3 with a rose or copper base is the sane choice. It will not be perfect on a blazing April afternoon or in a whiteout, but it will be usable on both, which is more than most single lenses manage.
Bright Sun: Go Darker, and Do Not Fear Colour
On a clear day the problem is volume of light, plus glare bouncing off the snow from every direction. You want a category 3 lens with a darker base tint, and a mirror coating helps by reflecting some of that light away before it reaches your eye. Grey and green bases keep colours looking close to normal, which is why they are popular with people who ski fast and want the terrain to look the way it actually is. Brown and copper bases warm everything up slightly and add a bit of definition to the surface.
There is a limit, though. A very dark mirrored lens is wonderful on an open, sunlit face and miserable the moment you duck into the trees, where January shade can feel like dusk. If your mountain is a patchwork of sun and shadow, a mid-dark category 3 usually serves better than the darkest thing on the wall.
Flat Light: Where Contrast Beats Darkness
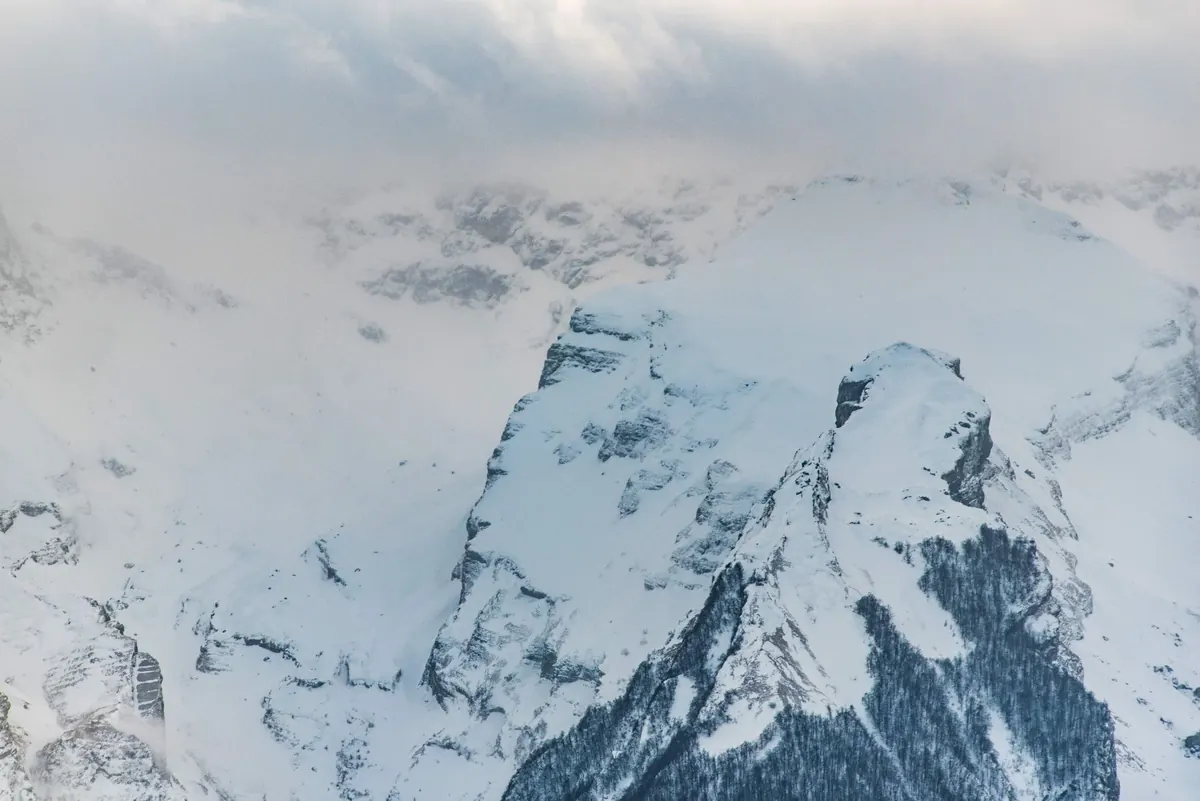
Flat light is the opposite problem. The cloud is acting like a giant softbox, light arrives from everywhere at once, and the snow stops casting shadows. Nothing looks like anything. Skiers describe it as losing the floor, and it is the condition most people blame on their own ability when the real culprit is the lens.
Here you want a lighter lens — category 1 or 2 — with a rose, amber, pink or pale copper base. These tints filter out part of the blue end of the spectrum, the part that scatters most in fog and falling snow, and the result is that ridges, rollers and icy patches start to show an edge again. Yellow is the traditional storm choice and still works well in genuinely dark conditions, though many riders now prefer rose for the way it handles a mix of fog and weak sun.
This is the lens most people under-invest in. A cheap spare in rose or amber will do more for your confidence on a grey Tuesday than any upgrade to your sun lens.
Mixed Weather and the Two-Lens Habit
Most mountain days do not stay in one lane. The practical answer is to stop looking for the perfect lens and start carrying two. Modern goggles with magnetic or quick-release lens swaps have made this genuinely easy: one lens in the frame, one flat in a soft bag in your jacket pocket, swap at the top of the lift in about fifteen seconds.
A simple quiver for a week in the Alps
- A mirrored category 3 in grey or brown for hard sun, high altitude and long spring afternoons.
- A category 1 or 2 in rose or amber for snow, fog, flat cloud and late-afternoon shade.
- Optional: a photochromic lens if you tour, ski a lot of tree runs, or simply hate stopping to swap.
If you are buying your first good pair, choose the frame with the swap system you find easiest to work with gloves on, then budget for the second lens instead of spending everything on one premium tint.
Photochromic, Polarised and Other Useful Extras
Photochromic lenses darken and lighten as the light changes. They are excellent for ski touring and for days when you genuinely cannot predict the weather, and they save you the swap. Two honest caveats: they react over minutes rather than instantly, and most do not go as dark as a dedicated sun lens at full strength.
Polarised lenses cut glare reflected off snow and ice, which is pleasant on bright days. Some skiers find that polarisation flattens the appearance of hard, icy patches, so if you spend your season on groomed rocket-fuel, try before you commit.
Whatever the tint, three habits protect the lens. Never wipe the inside with your glove — the anti-fog coating is delicate, so dab, do not scrub, and use the microfibre bag. Keep the frame vented and matched to your helmet so air can move through. And store the spare lens flat, not loose in a pocket with keys.
Practical Tips for Choosing Your Lens
Take your helmet with you when you shop, and try the goggle on with it. Fit and a gap-free seal matter more than any tint chart, because a goggle that leaks or pinches ruins the day regardless of what colour the lens is. Look for the VLT figure rather than the marketing name, and compare it to the categories above — "storm" and "all-conditions" mean different things to different brands.
Be honest about where you actually ski. A season of cold, shaded, north-facing pistes calls for a lighter lens than a season of glacier mornings. If you wear prescription glasses underneath, give yourself a bit more light rather than less. And on the subject of your eyes: UV exposure is higher at altitude and off snow, so take lens category and eye protection seriously, and speak to an optician or eye-care professional if you have specific vision concerns or get headaches on the hill.
One last thing worth doing: on your next ski day, look at the light before you leave the apartment. Blue sky and sharp shadows means the dark lens. Grey sky and soft edges means the light one. That single glance will teach you more about tints than any chart.
Photo: Gustavo Fring / Pexels